


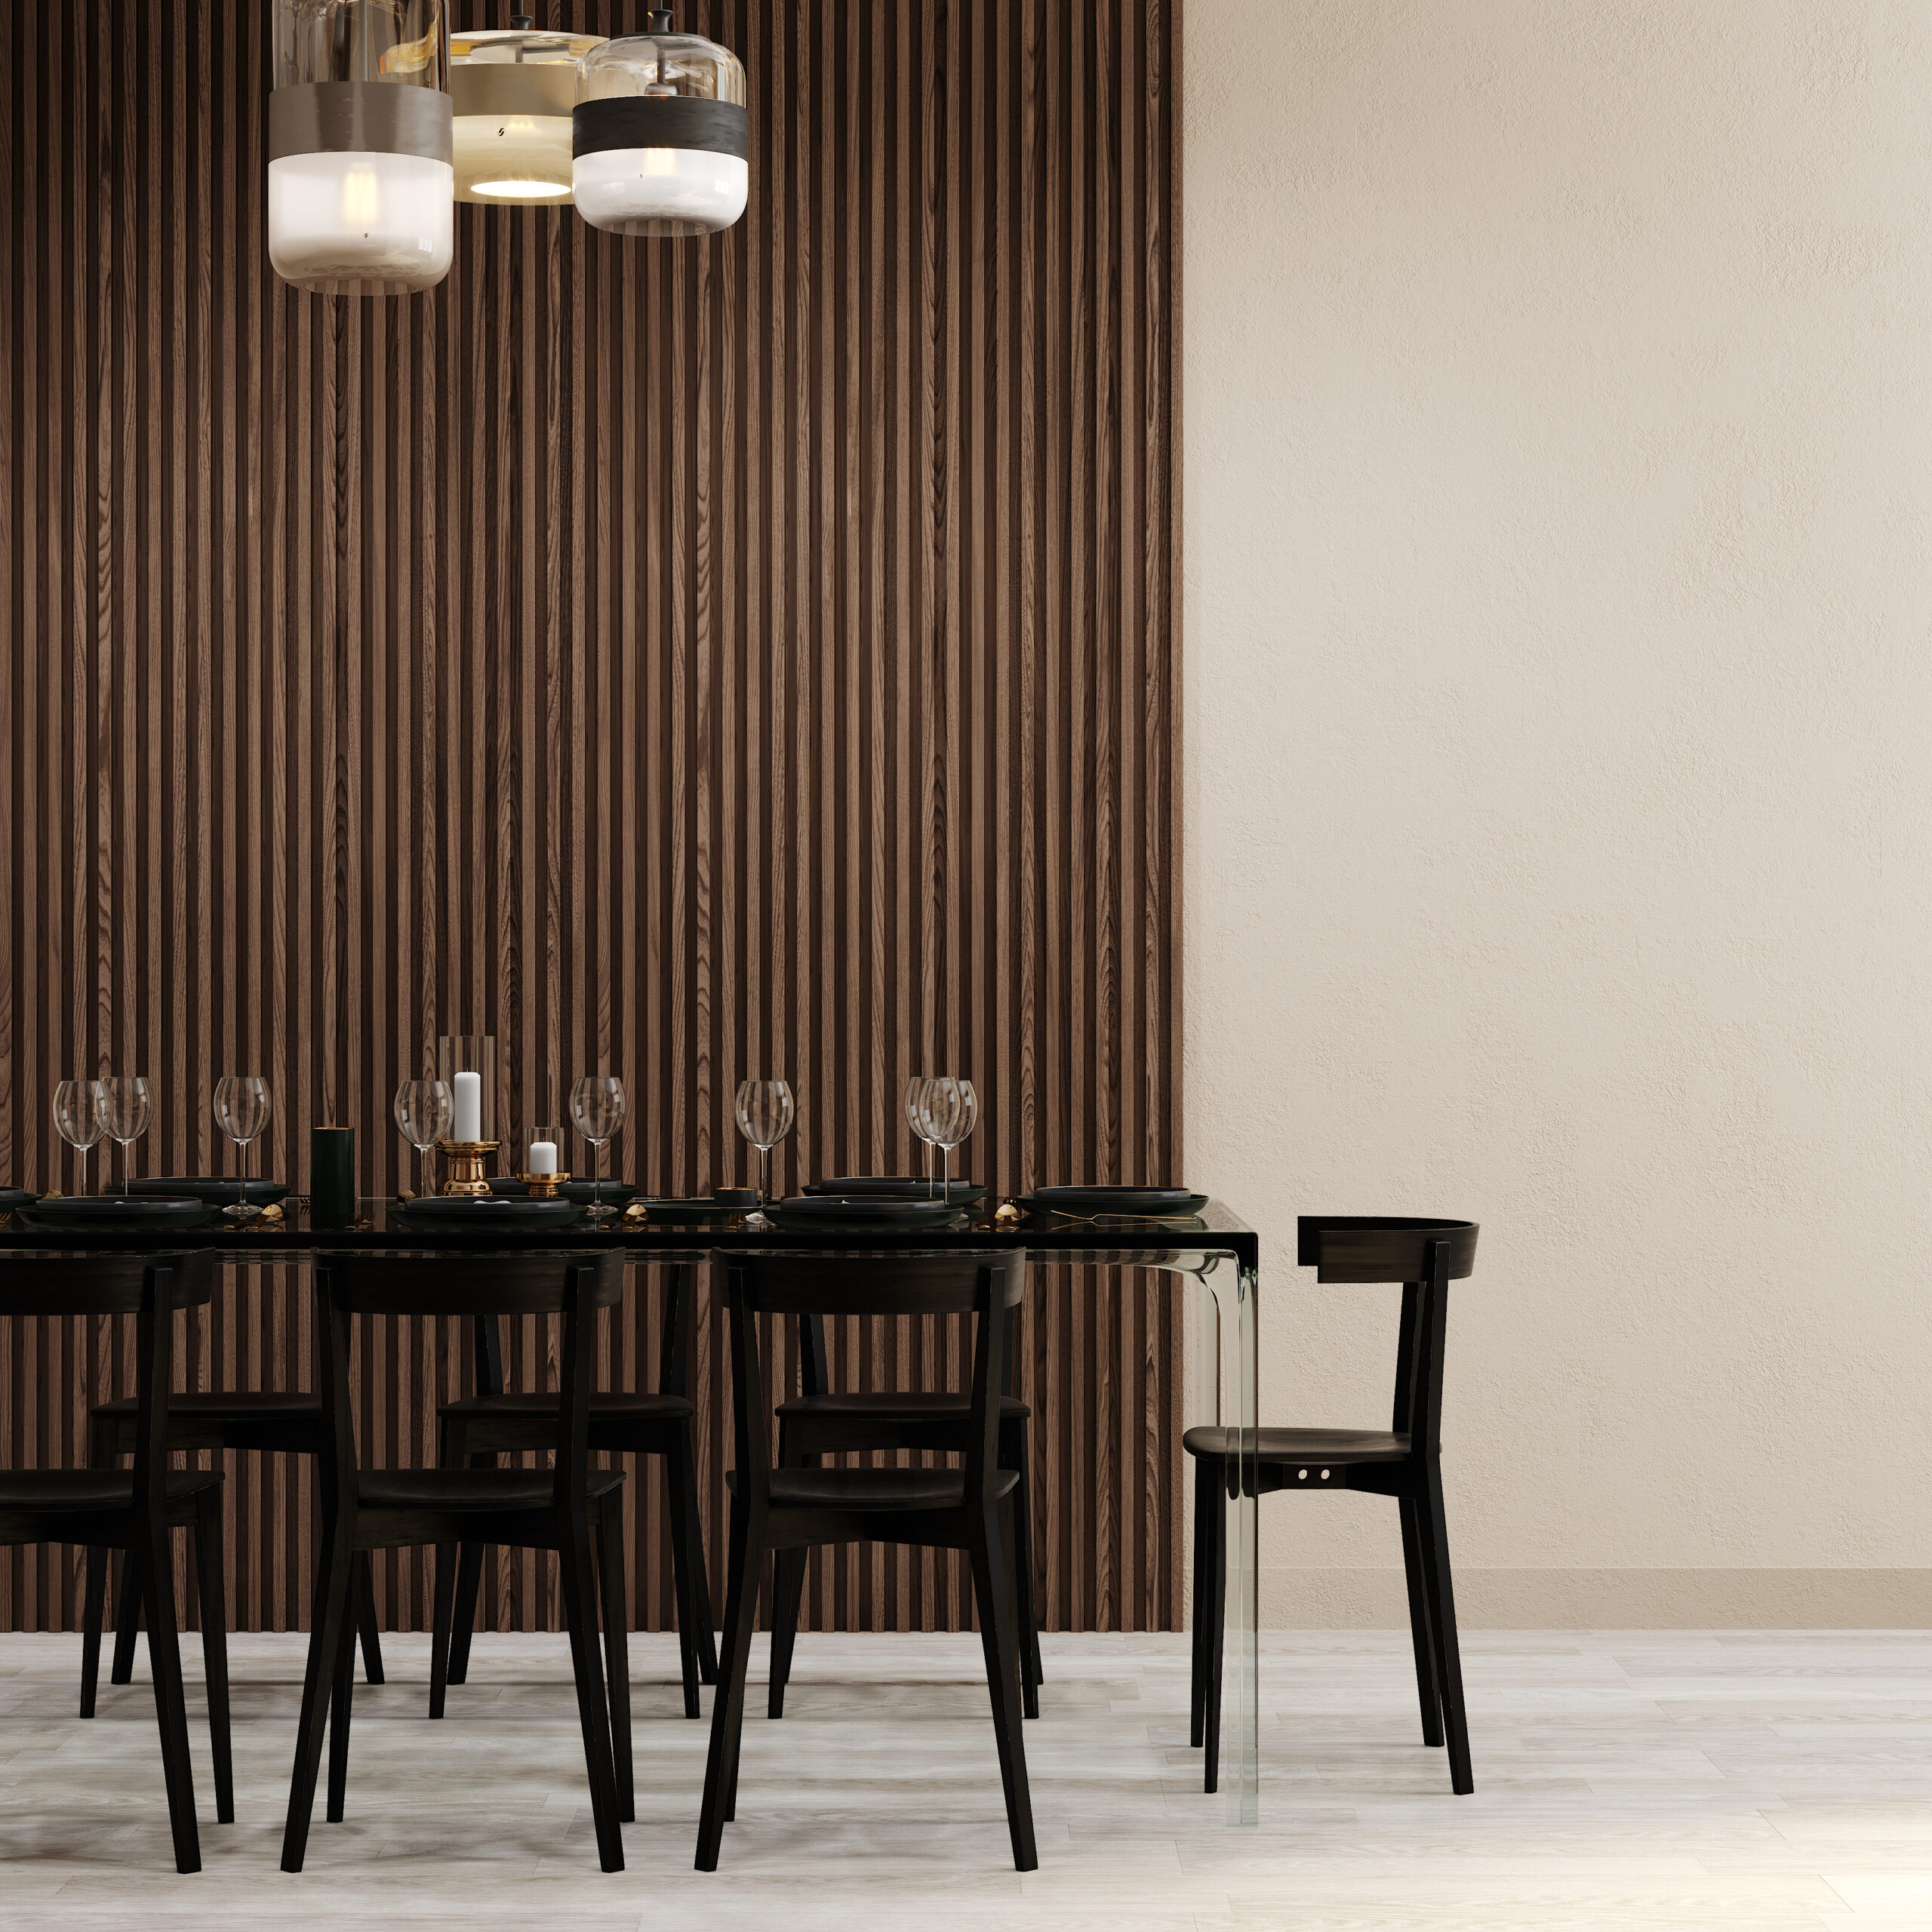
Wall panelling has become a popular trend, with homeowners and DIY enthusiasts showcasing their stunning transformations on social media platforms like Instagram. The surge in interest is evident from the significant increase in searches for “wall panelling installation.” If you’re keen to give your home a touch of character and charm, wall panelling can be a great option. In this blog, we’ll guide you through the process of panelling a wall using MDF wood, helping you achieve professional-looking results.
Step 1: Planning Before you start
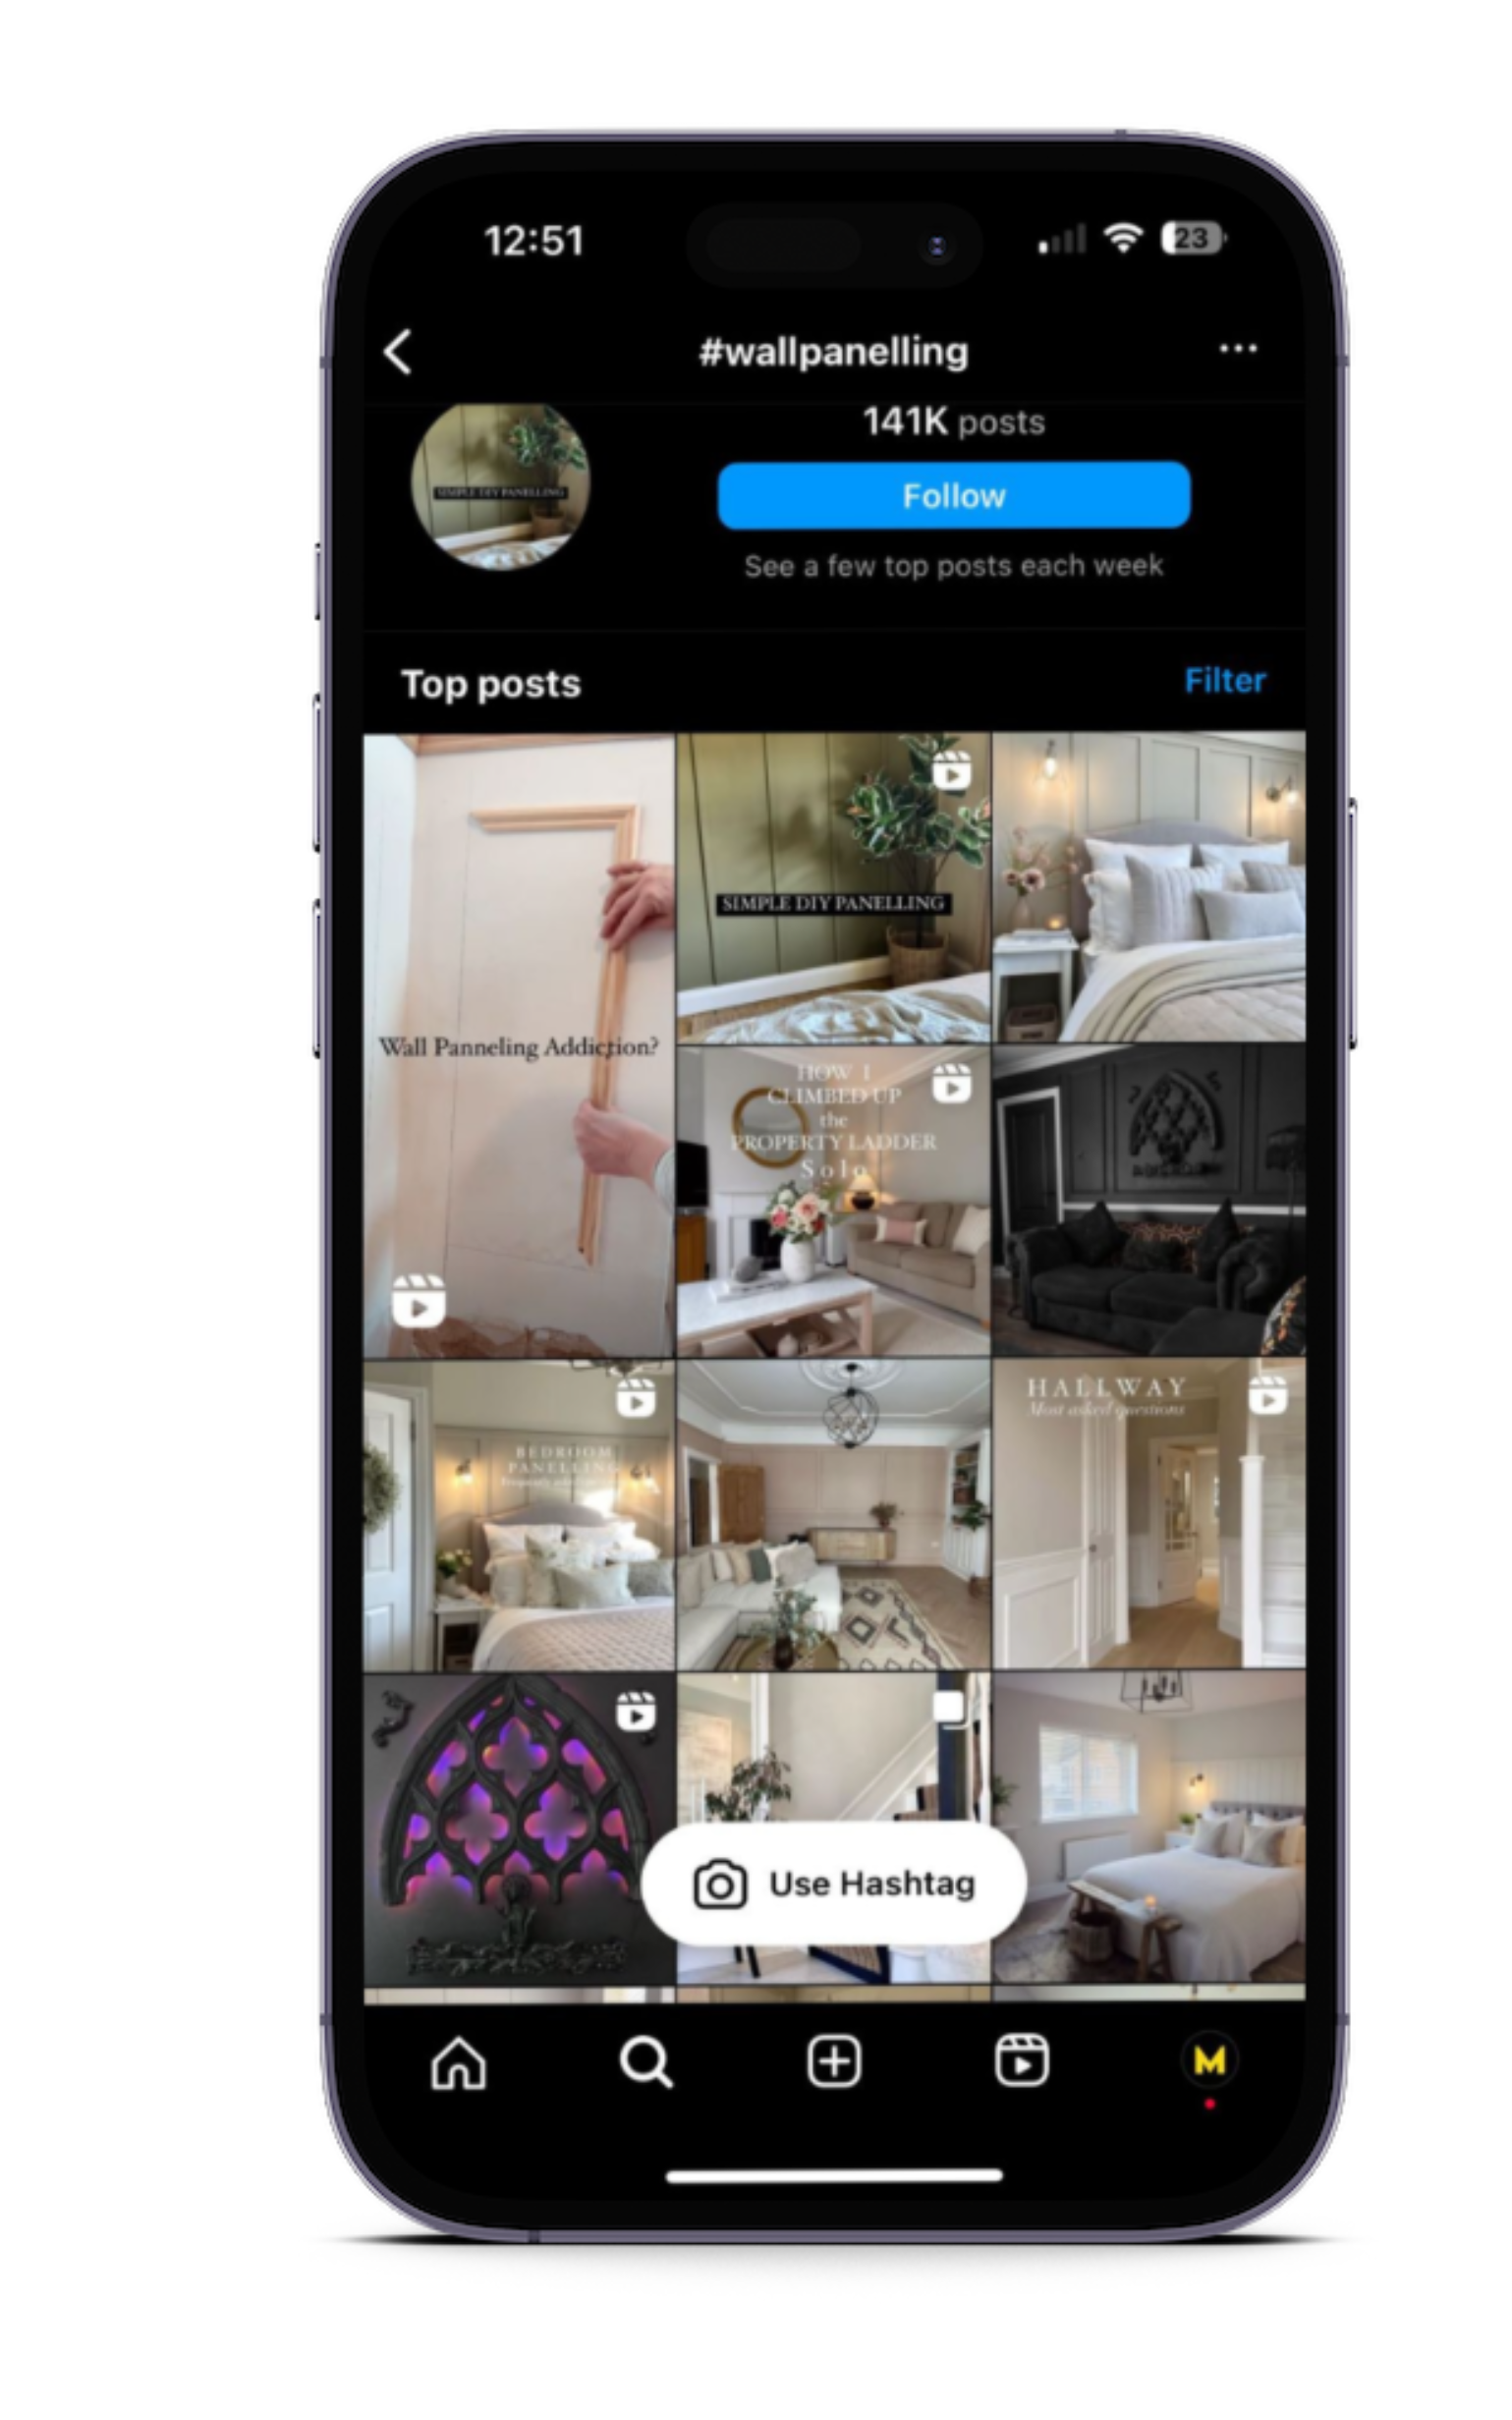
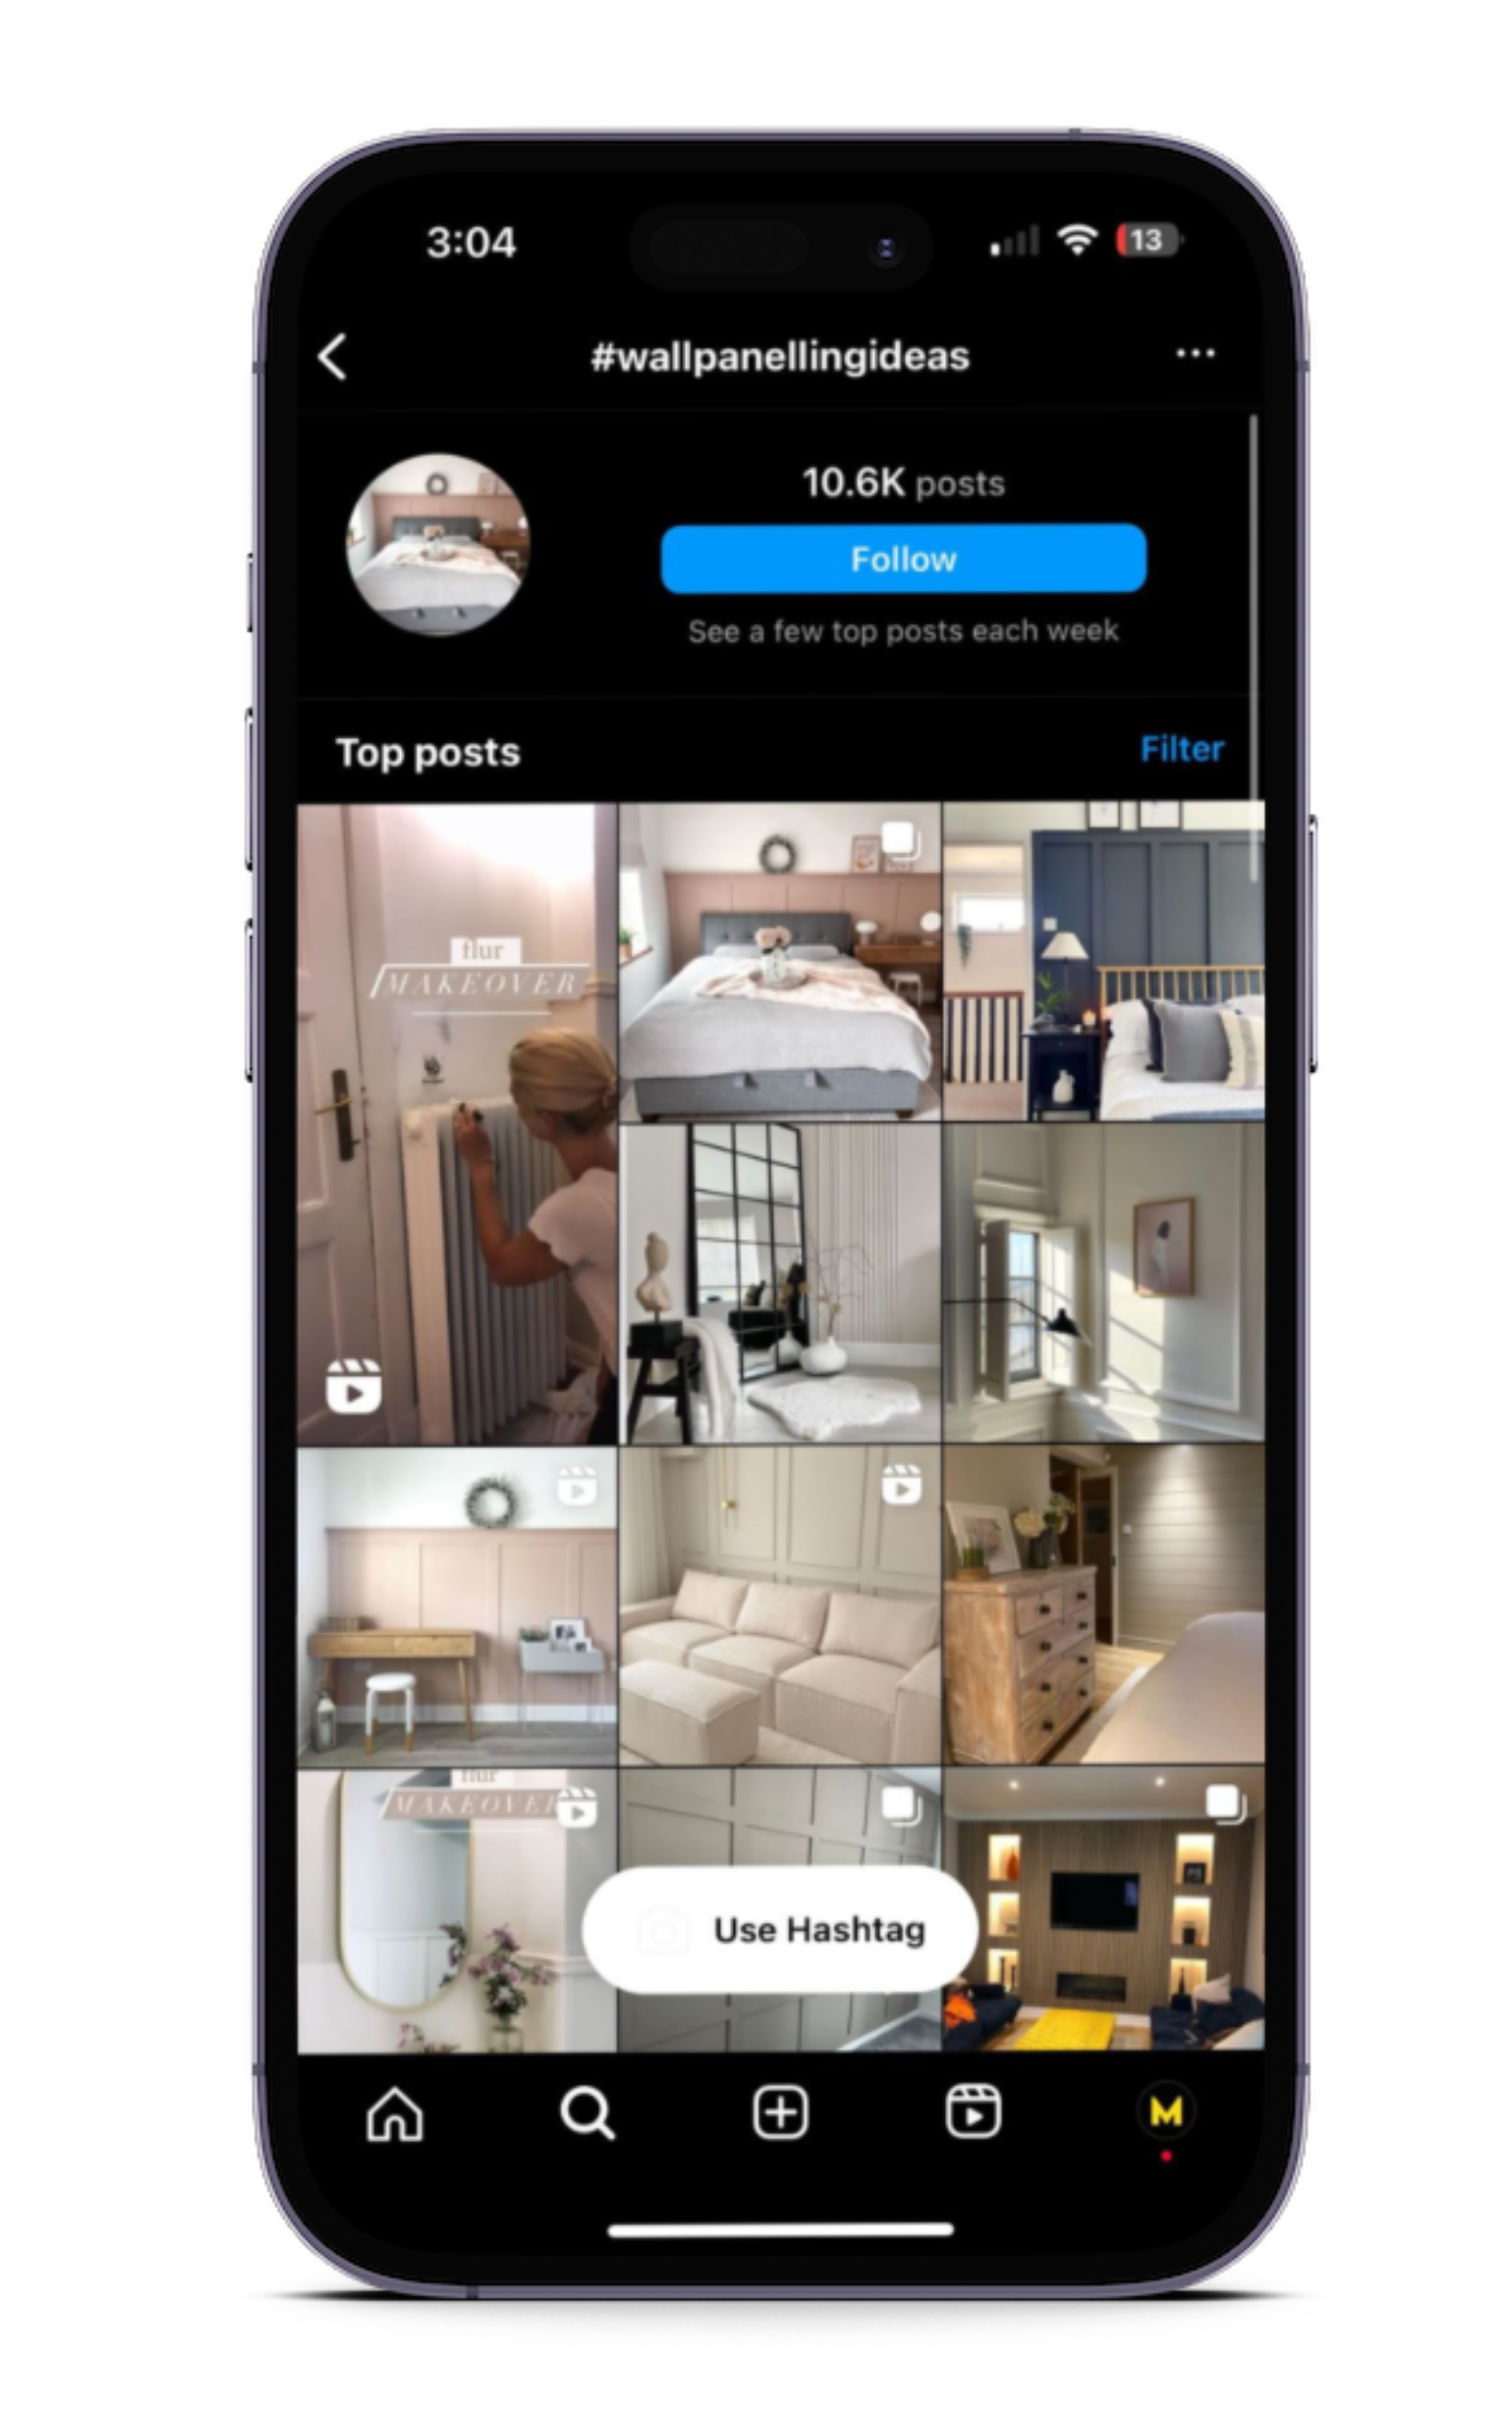
It’s essential to plan and prepare your wall. Sketch out your design ideas and determine the number of panels you’ll need to complete your project. Seek inspiration on Instagram using hashtags like #wallpanelling and #wallpanellingideas. Take your time with the planning stage to ensure you choose the right style for your space


Step 2: Measure your wall
Accurate measurements are crucial for a successful wall panelling project. Use a tape measure to determine the full width and height of the wall. Decide on the number of panels you want to account for top and base panels, as well as vertical and horizontal panels. Double-check your measurements to ensure precision.
Step 3: Cut the panels
Based on your measurements, cut the panels using a saw and a mitre box set at a 90-degree angle. Take your time to ensure the panels are cut precisely according to the measurements. If needed, home improvement stores like B&Q may offer cutting services.

Step 4: Sand and smooth your walls
Prepare your walls by sanding and smoothing them. This step removes any imperfections that could show through the panels. You can use sandpaper or an electric sander for this task.
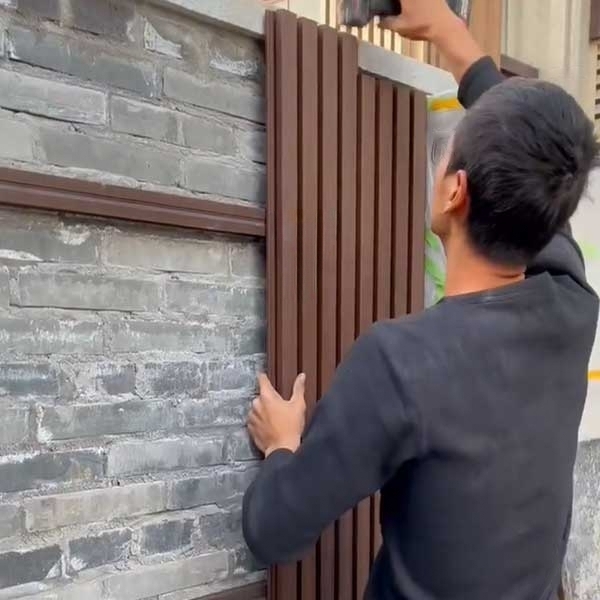
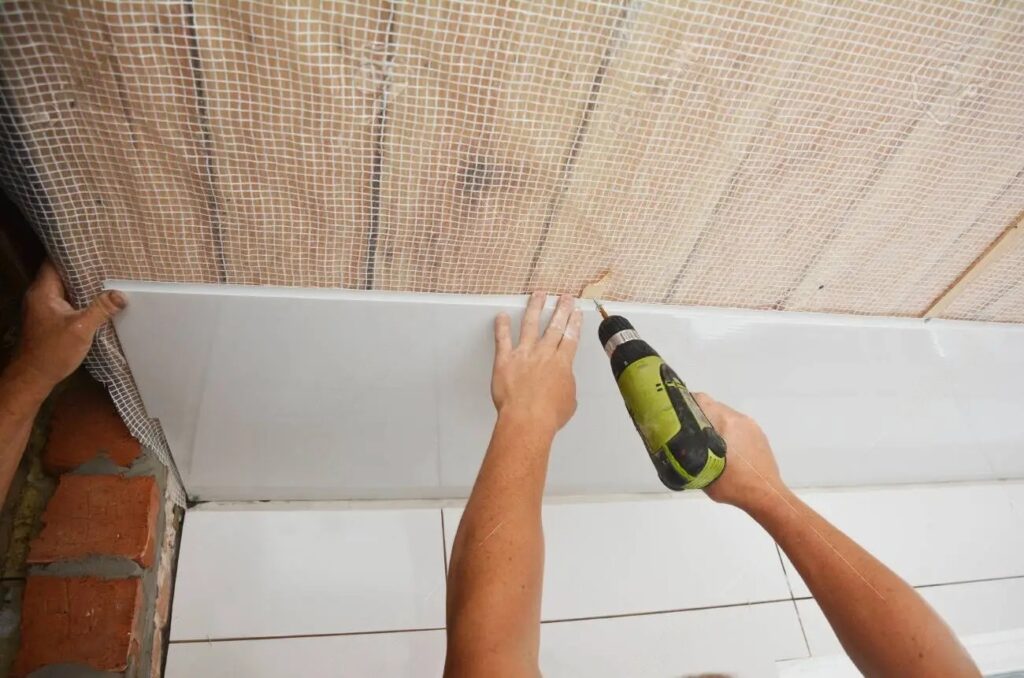
Step 5: Apply the panels to your wall
Begin by adding the frame using adhesive or a combination of adhesive and nails for added security. Apply the base panels first, followed by the top panel. Use a laser level to ensure the panels are straight. Apply adhesive to the back of each panel, press firmly against the wall, and allow it to dry. Then, attach the vertical and horizontal panels.

Step 6: Fill in any gaps
Inspect the panels for gaps, cracks, or holes. Fill these with decorators caulk, and if necessary, use Polyfilla for seamless joins. After filling, sand the surface to achieve a smooth finish.
Conclusion
Material Depot is a one-stop destination to check and compare different wall panel options. Take a look at the latest collection of trending wall panels here.
With the right preparation and technique, wall panelling can transform any room in your home. By following this step-by-step guide, you’ll be able to achieve professional-looking results and add warmth, depth, and character to your space. Take your time, measure accurately, and let your creativity shine through as you embark on this DIY project. Get ready to enjoy the stunning beauty and charm of wall panelling in your own home
Here’s a Quick Video on How to Install A Wall Panel


